We have three new features that are extremely quick to set up, but could mean significant growth and new revenue streams for your business.
The first two have been added to your ecommerce options in our Landing Page builder: Subscriptions and Payment Plans. Now, in addition to offering a one-time payment, you can set up a subscription service or payment plan for your customers.
Read on to learn more:
Subscriptions
You can now set up a subscription payment service directly on your landing pages.
Subscriptions, also known as recurring payments, are incredibly beneficial for all businesses. Here’s why:
- You have a dependable revenue source every month.
- They help build ongoing relationships with your customers.
- Subscriptions are often more affordable than bulk services and expensive products, allowing a lower barrier to entry.
- You can set them up as ongoing donations, allowing fans to tip you or donate to your non-profit endeavors on a regular basis.
How to get started
To get set up, add an ecommerce button to your landing page and choose “Subscription” rather than “One-time” when setting up your payment.
You can choose a weekly, monthly, or yearly subscription model and choose or create any new product at any price.
Note: To set up payments you will need to be connected to Stripe, which you can do in minutes.
Payment plans
You can also offer payment plans for products and services on your landing pages. Do you have a high-value item or course you offer?
Payment plans are a win-win for you and your customers. Here’s why:
- Customers with budget limits can still access your more expensive offerings by paying over time.
- You don’t have to reduce costs in order to expand your customer base.
- Reduced financial pressure leads to more satisfied customers, who could become local advocates for your business.
How to get started
The same as you would for subscriptions, add an ecommerce button to your landing page and choose “Payment plan” rather than “One-time” for your payment. You’ll need to set a number of payments and a frequency, either weekly, monthly, or yearly.
Note: To set up payments you will need to be connected to Stripe, which you can do in minutes.
Related: Check out this extended article to learn how you can Grow Your Income with Subscriptions & Payment Plans.
We’ve also made an update to make web push notifications better for you and your subscribers.
Web push welcome notifications
You asked, and we answered!
You can now set up an initial notification that welcomes new subscribers when they opt in to receive your web push notifications.
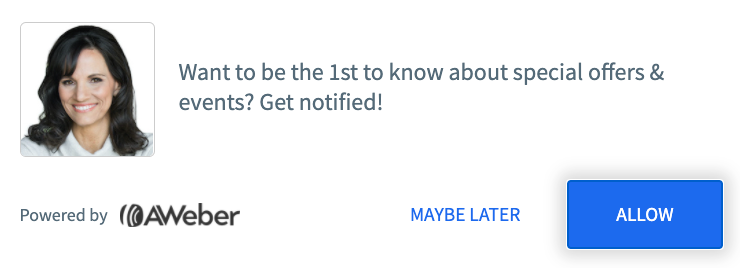
As a quick recap, web push notifications — also known as desktop notifications — are short, one-time messages sent straight to your subscriber’s desktop when they have a browser open.
You ask people to opt in on your site, and then you can send them a message whenever they open their browser, no matter what site they’re on.
The initial opt-in pop-up looks like this:
Welcome and all future notifications look like this:
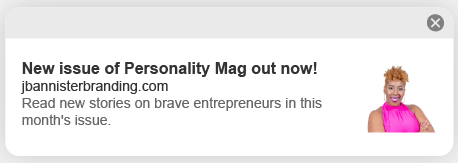
Tips to use the welcome notification effectively:
This new welcome push notification, in essence, confirms to your subscriber that they have opted in to receive your web push notifications in the future. But there are some creative ways you can use it.
- Offer a first tip or challenge to engage your subscriber
- Give those who opt in a discount code they can use while still on the site
- Set expectations by letting subscribers know what future notifications will look like
How to get started:
If you don’t have web push notifications set up already, follow these step-by-step instructions to get them on your site.
Once you’re set up with web push notifications…
- Navigate to your web push opt-in prompt in your AWeber account by clicking here.
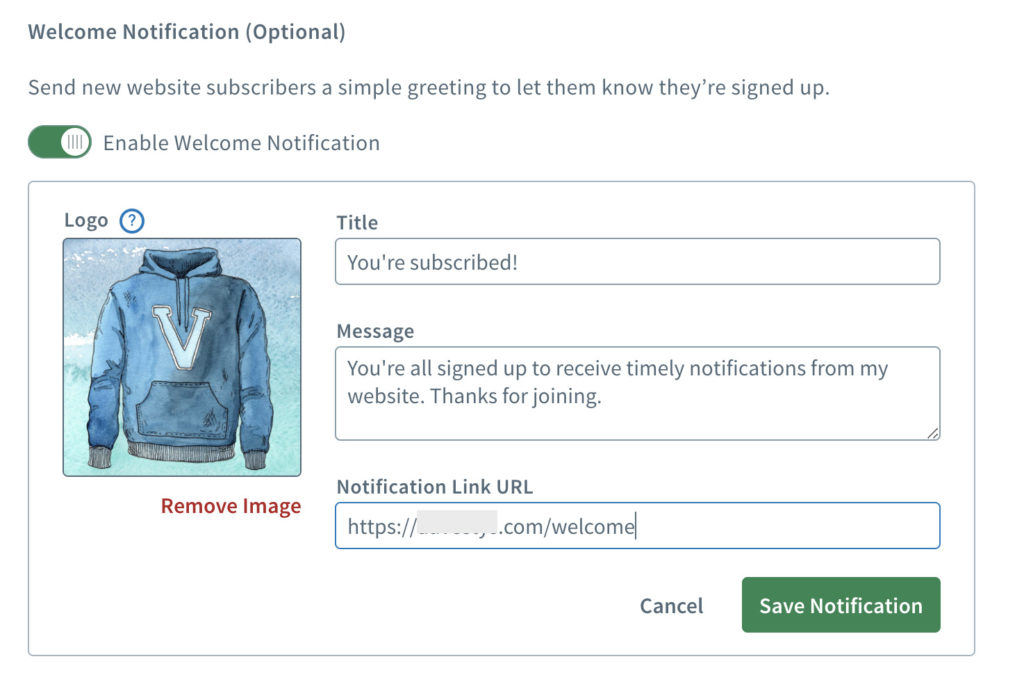
- Scroll to the “Welcome Notification” section and enable them.
- Edit the Logo, title, message and notification link URL
- Click “Save Notification”
That’s it! Now whenever a website visitor subscribes to notifications on your website, they will receive the welcome push notification immediately after sign up. This signals to them that their subscription was successful.
After the welcome, they will only receive notifications when you proactively send them to your list of subscribers.
What would you like to see next?
Drop your thoughts in the comments section below. We love hearing from you and your feedback means so much to us.
The post New Features: Ecommerce Payment Options and Web Push Welcome Notifications appeared first on AWeber.
from AWeber https://ift.tt/3xarTKe
via IFTTT
No comments:
Post a Comment